Stipple Ceiling Repair Services Overview
Visitors can learn about local contractors who specialize in stipple ceiling repair services and how to compare their options easily.
- - Homeowners seeking repairs for damaged or stained stipple ceilings in residential properties.
- - Commercial property managers needing restoration services for office or retail spaces with textured ceiling finishes.
- - Contractors looking to connect with local specialists for professional stipple ceiling repair projects.
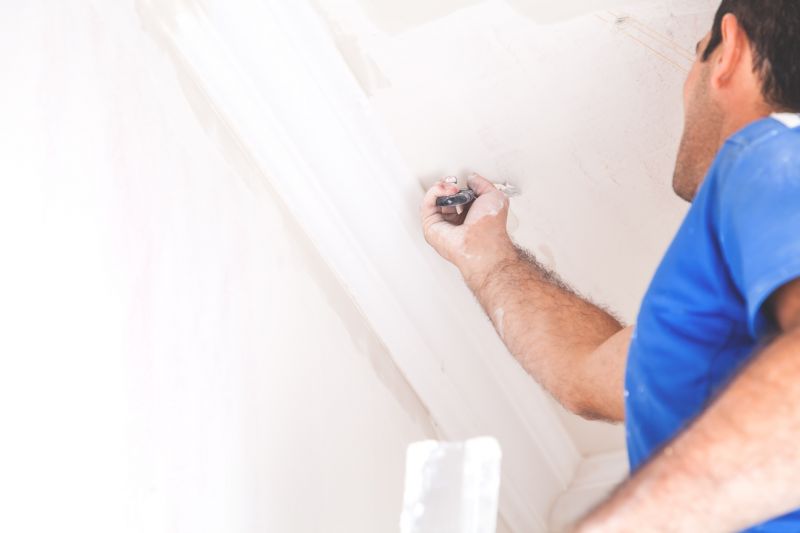
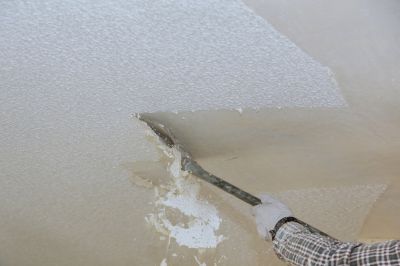
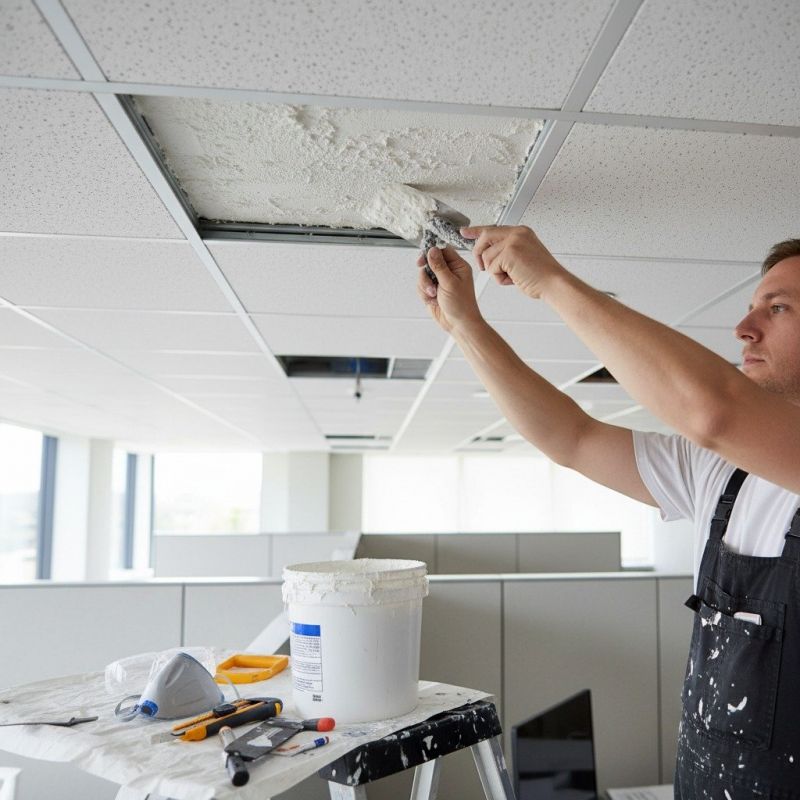
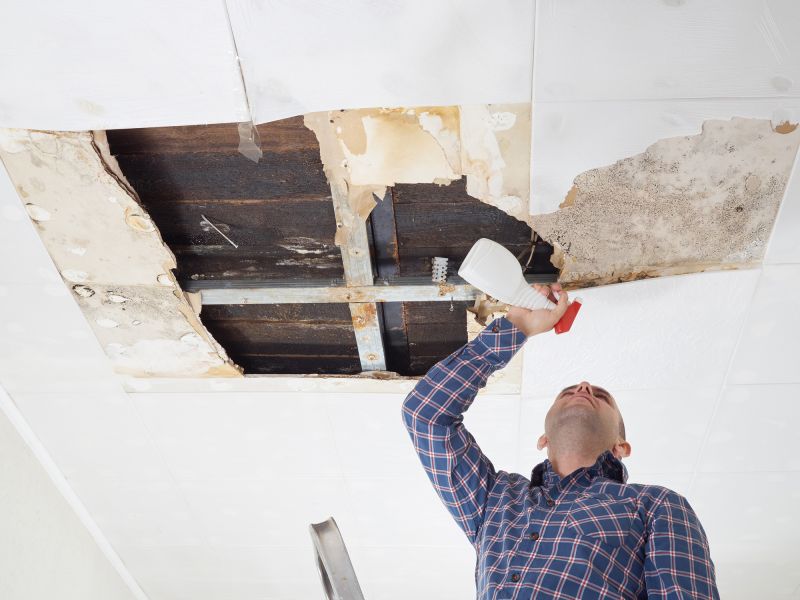
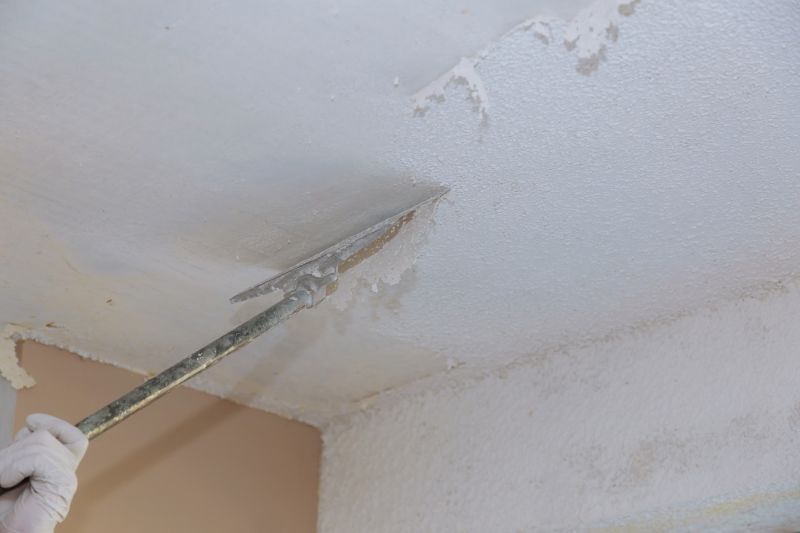
Stipple ceiling repair services are often sought by property owners experiencing issues such as cracks, water damage, or deterioration of textured ceilings. Local contractors who specialize in this work typically assess the condition of the ceiling, identify underlying causes of damage, and perform repairs to restore the surface. These professionals are experienced in handling various types of stipple textures and can address common concerns like peeling or sagging, ensuring the ceiling maintains its original appearance or is prepared for a new finish.
Connecting with local service providers for stipple ceiling repair offers property owners access to experts familiar with the specific needs of their area. These professionals can handle a range of repair tasks, from patching small cracks to addressing more extensive damage caused by leaks or structural shifts. By working with nearby contractors, property owners can find solutions tailored to their project, with the ability to compare options and select the service provider best suited to their repair needs.
This guide provides helpful information to understand the process of stipple ceiling repair and what to consider when planning a project. It assists in comparing local contractors and understanding the basics of the work involved. The goal is to help visitors gather the right details to connect with qualified service providers in their area.